The use of email is a necessity for any online business, store, blog, news site or other digital resource.
Most of them are based on WordPress, and to implement a smoothly functioning email, there are some finer points that we share with you in our help article below.
Why Use an SMTP Plugin in WordPress?
By default, WordPress uses the so-called phpmail to send email messages. Until a few years ago, this was not considered a major problem, but after recent changes by providers such as Google, Hotmail, Yahoo, and others, it began to negatively affect the sending of electronic messages.
For this reason, it is now recommended to use the SMTP protocol. It allows you to correctly specify an email address from which you want to send messages. The receiving email server, for its part, will make sure that the messages are not fraudulent.
Preparing the Installation of the SMTP Plugin in WordPress?
Before you install the SMTP plugin in WordPress, you must do this:
- you have a WordPress website or a WooCommerce online store;
- you have access to the administration interface with the rights to install extensions;
- an email address that you will use has been created. You can use registration with several well-known email providers or a created email address for a personal domain.
Installing the SMTP Plugin in WordPress
After entering the administrative panel of the website, you must select:
Extensions - Add more.
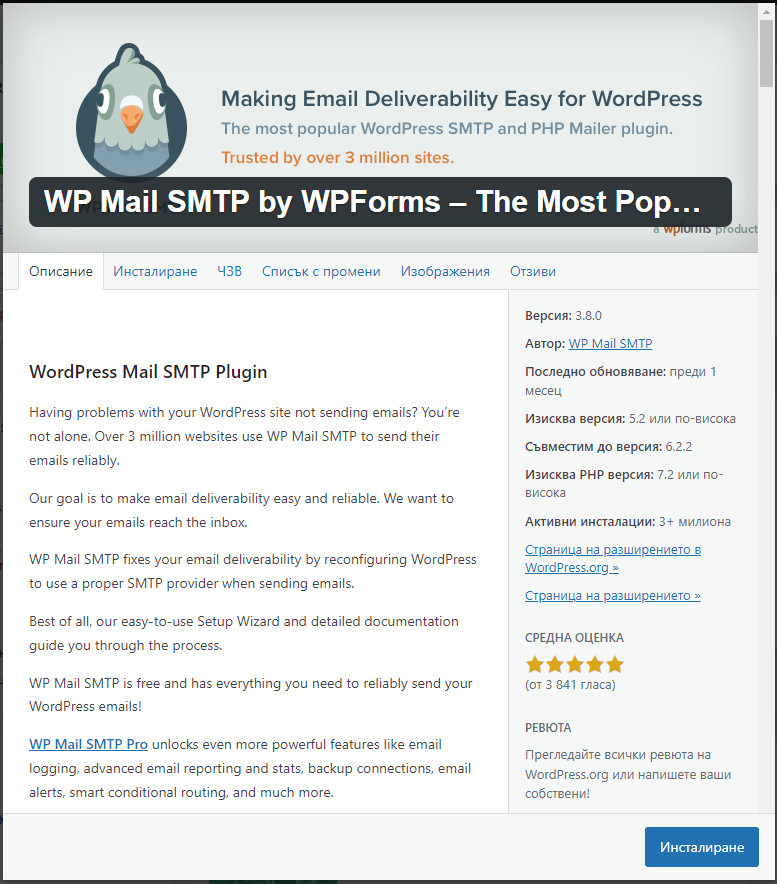
Enter “wp mail smtp” in the search field. You will get several modules as a result. We will install “WP Mail SMTP by WPForms – The Most Popular SMTP and Email Log Plugin”.
Immediately before installation, you also have the option of viewing the information provided by the developers of this module. Then click on the "Install" button.
After successful installation, you must activate the SMTP extension.
WP Mail SMTP appears below all other WordPress functions (in the left menu bar).
Configuring the SMTP plugin in WordPress
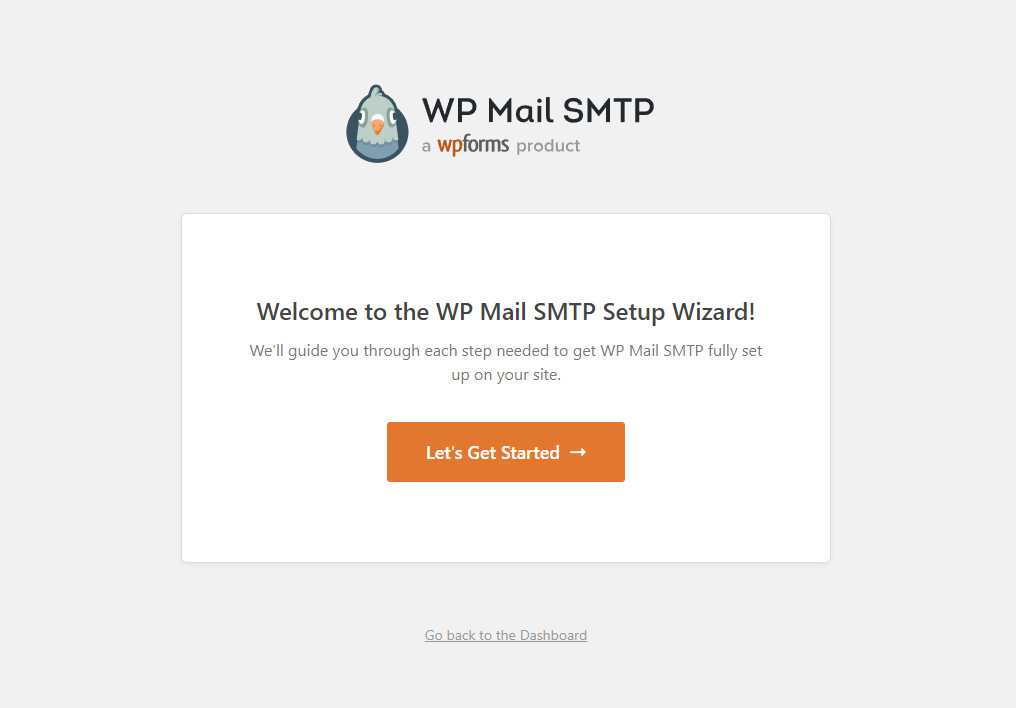
Next, you need to configure the add-on, which is done in 6 easy steps. If you decide to proceed to this step, click on the “Let’s go” button.
Selecting a service provider (step 1)
Some of the most popular and most used email programs (Gmail, Outlook, and others) are visualized as you can see in the image below.
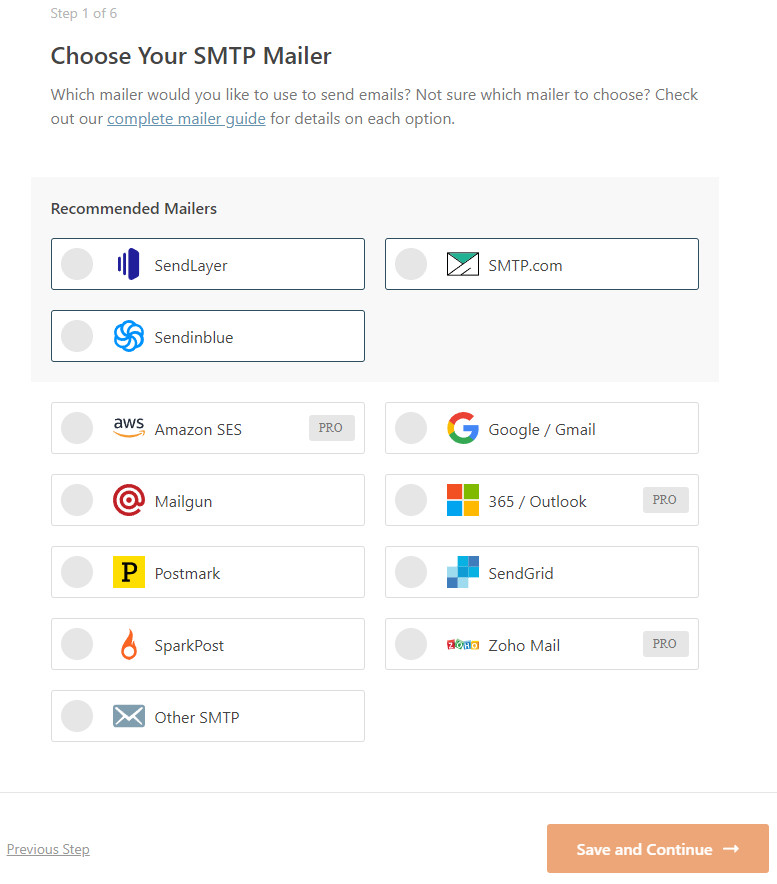
The last option (at the bottom) is called "Other SMTP" and allows messages to be sent via an SMTP server without the services of a provider. I will use this option for the current example.
Configure Settings (Step 2)
This second step contains several fields in which you can enter information.
Configuration fields (image below):
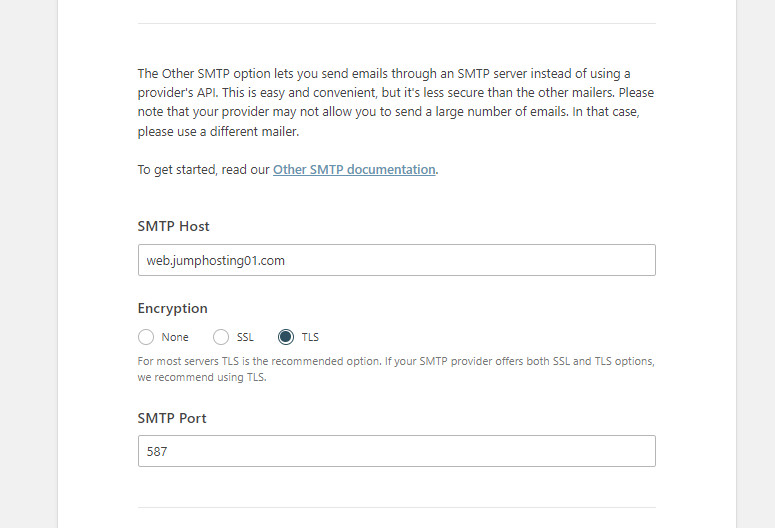
SMTP Host
You can easily fill in this field as the information will appear in the message sent when setting up the specific hosting account.
Encryption
TLS encryption is selected by default. It is recommended for most servers. This type of encryption is also offered by the developers of the extension. The next field SMTP Port also depends on the type of encryption. Its value for TLS encryption is 587.
Authentication
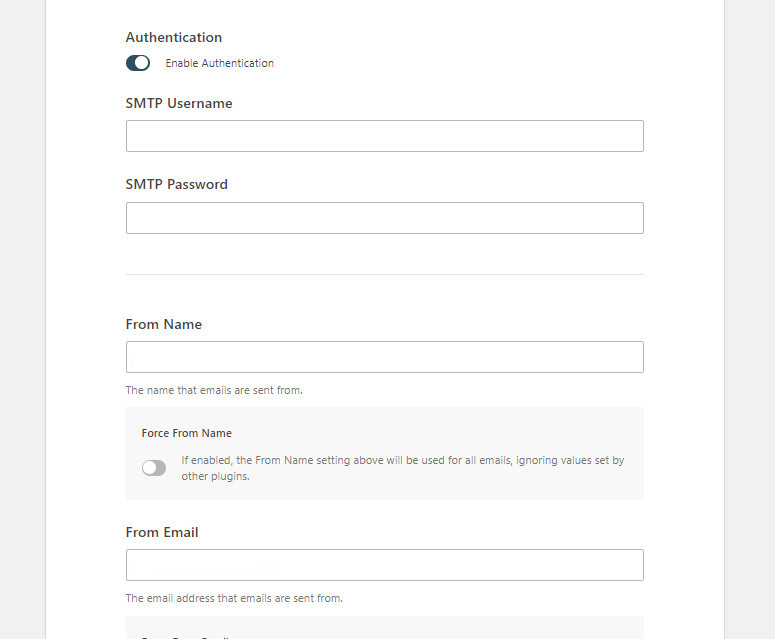
The section contains two fields for accessing an existing email address - user (SMTP username) and password (SMTP password). For the user name, you must enter the full email address, for example - email@domain.com.
From Name
In this field, enter the name from which you would like to send email messages in the future.
From Email
As with the previous field, you should enter the email address from which the messages are to be sent here.
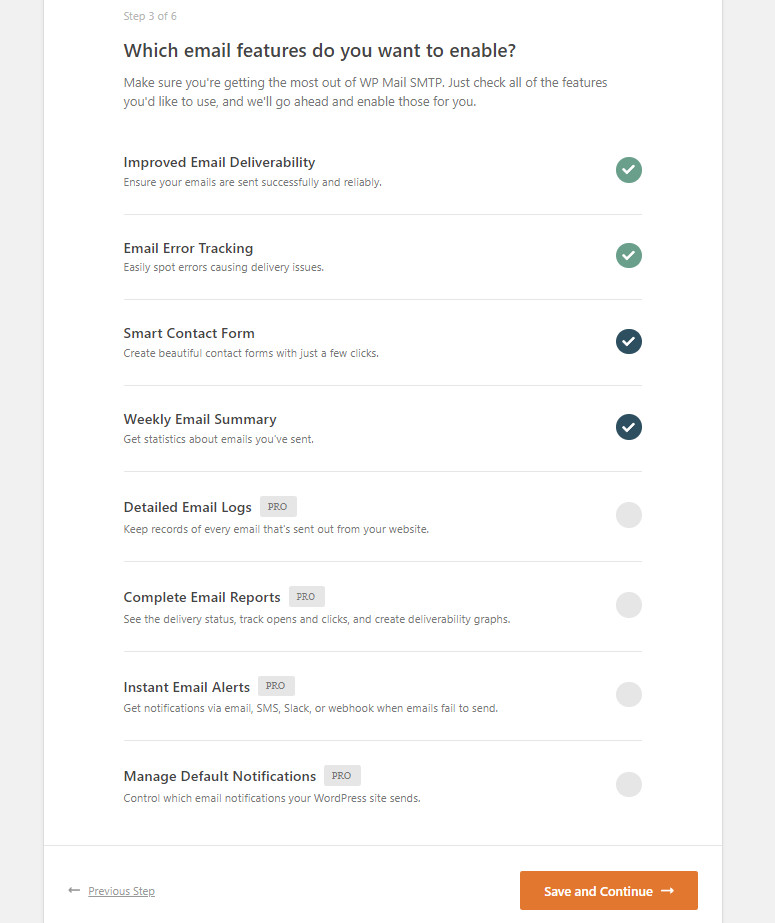
Selection of functionalities (step 3)
Here you can switch all available functions on and off. There are significantly more in the paid version of the module.
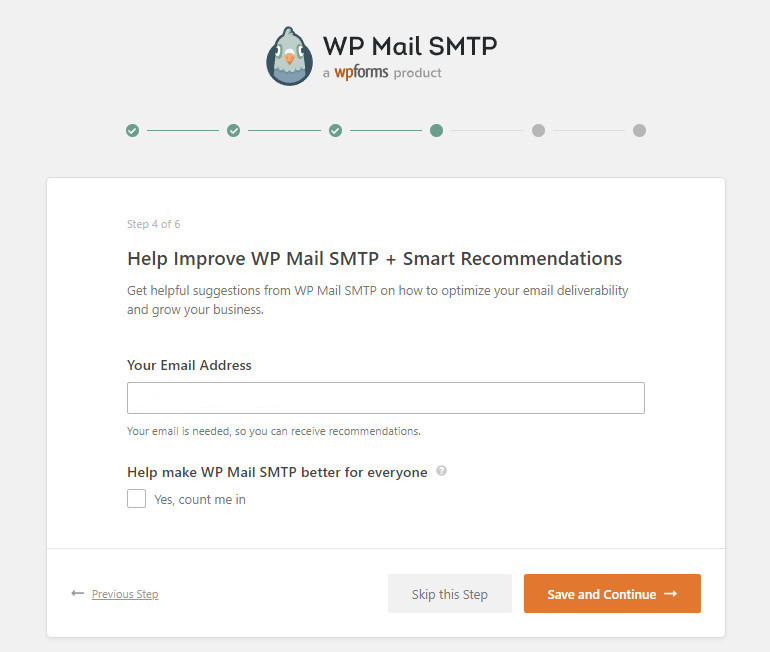
Optimization Tips (step 4)
You can skip this step, but if you would still like to receive tips on how to improve the quality of this module and your work with it, enter an existing email address.
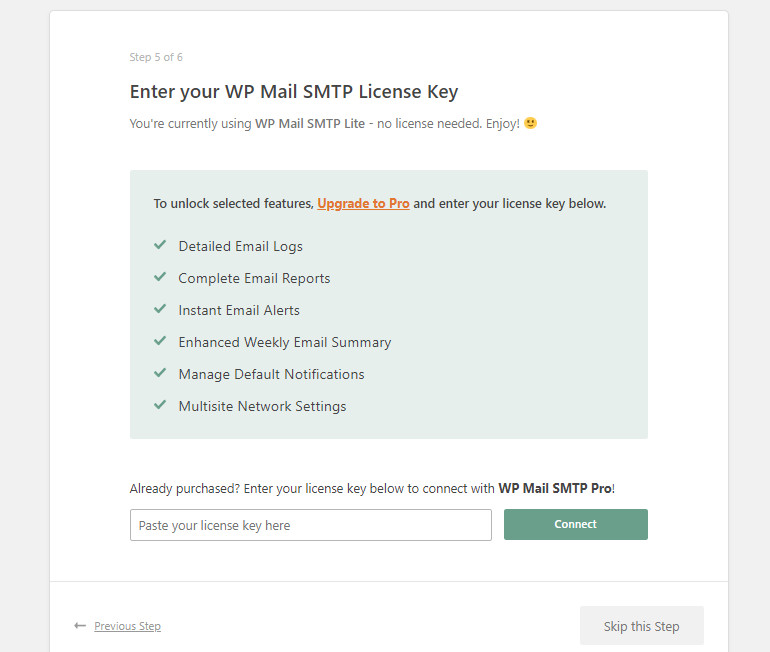
Select the Pro version (paid) - step 5
If you want to use the paid version of the module, there is an active link to the Pro version and a field to enter a key in this step.
Module has successfully set notification (step 6)
In the last, sixth step, you should receive a message that the SMTP module for WordPress has been set up successfully.

You can also view other recommended modules, upgrade to a paid version or simply complete the settings. You should also receive a confirmation message to the email address provided.
The settings can also be edited after the initial configuration has been completed.

We hope that we have been useful to you. Questions about setting up a working SMTP email module in WordPress are among the most frequently asked questions.