WordPress is the most widely used CMS today and one of the reasons for that is that it can be used by people without programming skills. This easiness it provided by the so-called plugins - pieces of code injected into the website, that provide needed functionalities.
WordPress plugins resemble applications found on your mobile device. They can be acquired either by download or purchase to supplement or enrich the features of your WordPress website. Plugins empower WordPress users to develop robust websites without the need to engage in any coding activities.
In this article, we will show you how to install the relevant plugins, extensions or plug-ins.

1. Log in to your WordPress administration area. To do this, log in at: https://mywebsite.com/wp-admin or - if you are already logged in - via the top bar in the summer by selecting "Dashboard".
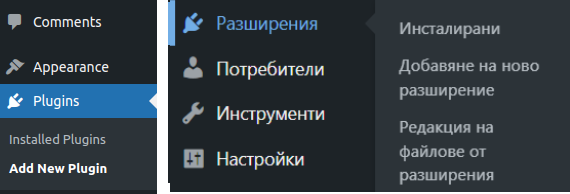
If you are already in the admin panel, turn your attention to the black bar with the menu options on the left and look for the menu Plugins - > Add new if you have selected the English language or Extensions - > Add new extension if you are using the Bulgarian language.
When you open the option to add a new extension, you will notice that the platform (WordPress) displays "selected" modules with priority on the screen and provides brief information about them.
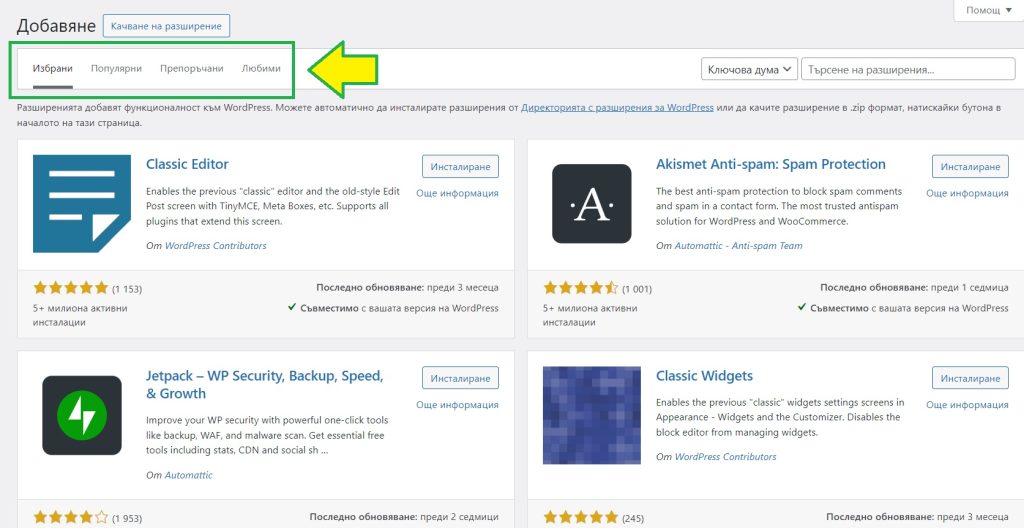
As you can see outlined in green in the screenshot above, you can select which extensions should be displayed first:
- Featured (by WordPress) - loaded by default
- Popular - the most used
- Recommended
- Favorites
In the same menu, but on the right-hand side, there is a search field (plugin search) where you can enter text to search for the modules, extensions and plugins you need:
In the example you see on the screenshot below, we use the keyword "cache" to find a caching plugin:
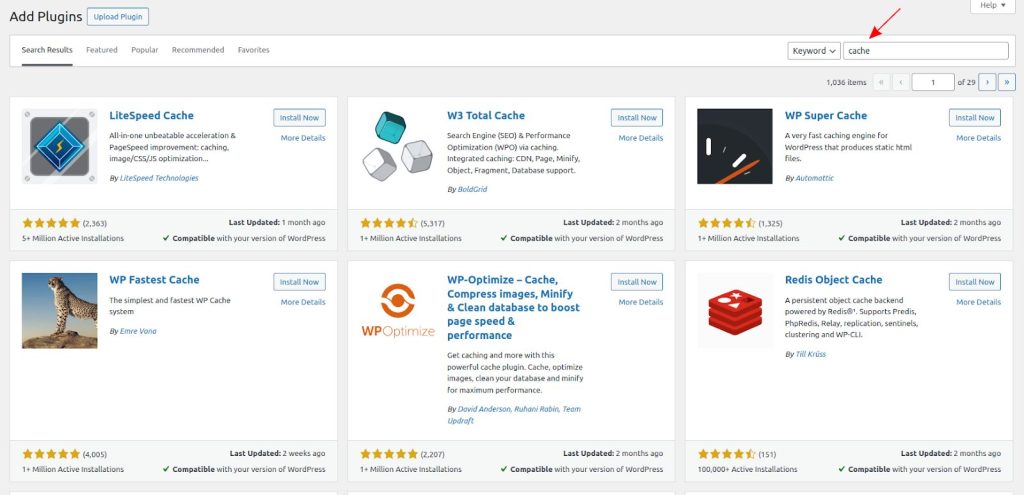
To select the most suitable extension (plugin) for you, you can view further information on the individual extensions by clicking on the "More Details" button.
If you have already selected a plugin, click on the "Install now" or "Install" button, and after a short wait, the module will be available on your WordPress website.
However, this is not enough to benefit from the selected and installed extension. You also need to activate it via the “Activate” button, which appears after installation in the place where the “Install” button was previously located. This is how it looks visually:
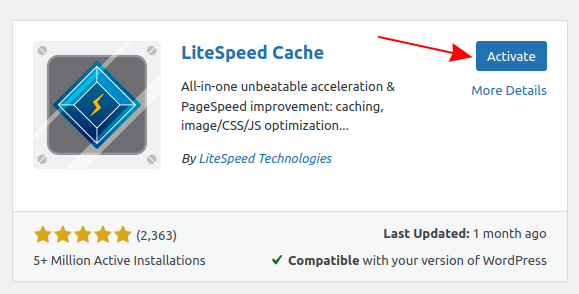
Our choice for a caching plugin is LiteSpeed Cache because we use LiteSpeed Webserver for our optimized WordPress hosting - it has integrated caching and a caching plugin for WordPress was developed by the developers of the LiteSpeed Webserver software specifically for it - namely LiteSpeed Cache.
Our technical experts have written a very detailed post - how to set up the LiteSpeed Cache plugin - step by step with explanations of each element. If you have any questions or concerns, we are available around the clock to provide you with advice and support.
Are you confident in your web development skills? Read our detailed guide on using WP-CLI to manage plugin updates.
Recommendations and best practices for choosing an extension
- Always check when an extension/plugin was last updated. You must choose extensions that are maintained and updated by their developer.
- Make sure that the extension you choose is compatible with the WordPress version you are using.
- The mod rating does not always give accurate information about this, but keep it in mind anyway. Lastly - as you can see, WordPress will notify you if a module is already installed and prevent it from being duplicated - if the "Install Now" button is not active and says "Installed".
- If you have an archive of a module, you can add it back to your site via the "Plugins - > Add New" menu. After navigating to the appropriate location, you will see the following line: "Plugins extend and complement the functionality of WordPress. You can install plugins automatically from the WordPress plugin directory or upload a plugin in .zip format via this page". As you can see from the text, all you need to do is click on the link at the end of the sentence "this page" and a new page will appear with the option to upload the archive.
- You can upload a mod via an FTP client to the directory "/wp-content/plugins/". Here's our step-by-step tutorial on how to set up an FTP account.
We hope that we have been able to help you with this information on selecting and installing WordPress plugins. If you prefer to focus on your business or project, you can entrust the maintenance of WordPress to our experts with the WordPress support service. You can find out more about them by clicking on the image below: