More and more people, companies and businesses have a digital presence - both on various social networks and with their own website. Creating websites used to be a privilege for technically advanced users, but with the advancement of technology, it is becoming more and more accessible.
WordPress has established itself as one of the most affordable and user-friendly content creation systems (CMS). According to published statistics, more than half of websites with traffic are based on WordPress.
To meet the needs of these users, we at Hosting Jump offer the WordPress hosting service, which provides the necessary resources to keep a WordPress website running smoothly.

To make things easier for customers who trust us, we have provided a WordPress installer in the control panel of the hosting account (cPanel), which you can use to install WordPress with just a few clicks - it's quick and easy and takes just a few steps.
1.Log in to cPanel
The first step is to log in to cPanel - the control panel of your hosting account. You can do this in two ways:
1.1. Enter the domain name of the website and port 2083
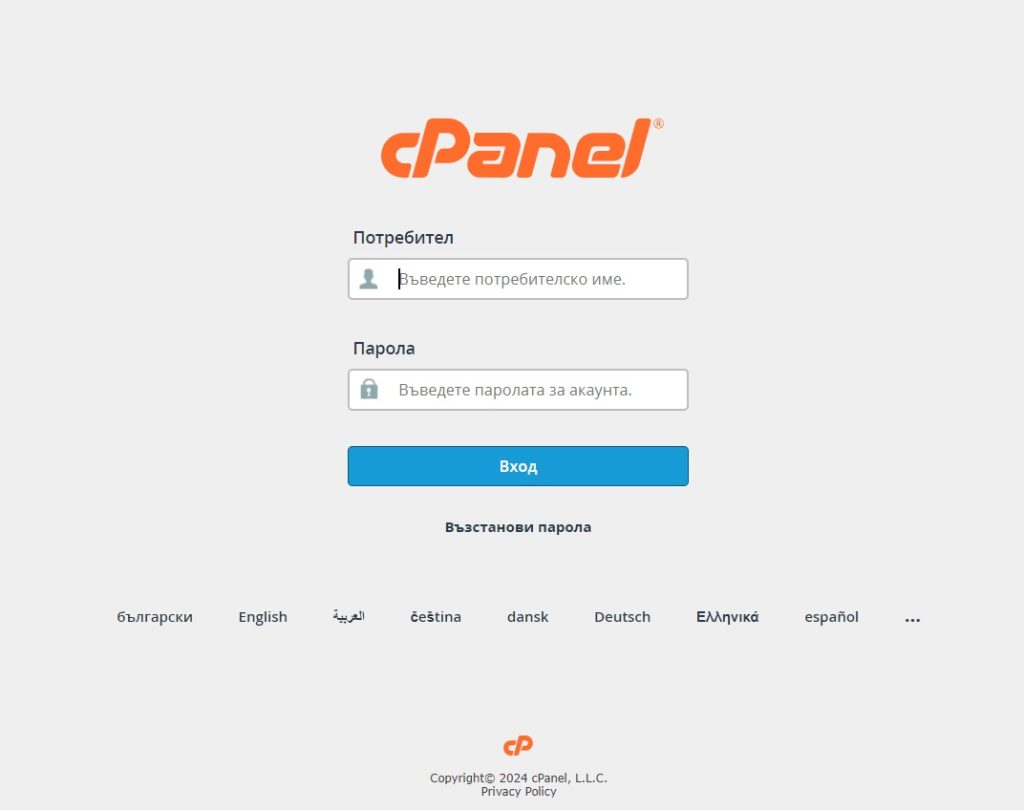
Enter the domain name (or IP address) in the address field of the browser (where the URL of websites is located) and then port 2083, for example - https://mywebsite.com:2083
A login interface with a username and password will be loaded. The login details were emailed to you when you created the hosting account, but if you can't find them, you can select the option: "Forgot password".
1.2. Through the client area in Hosting Jump
Another quick and easy way to log in to your Control Panel - cPanel of your hosting account is the customer area in Hosting Jump. The Client Area is where you manage your Jump hosting services - domains, hosting accounts, etc. This option is probably easier for beginners.
How do I enter the Hosting Jump customer area?
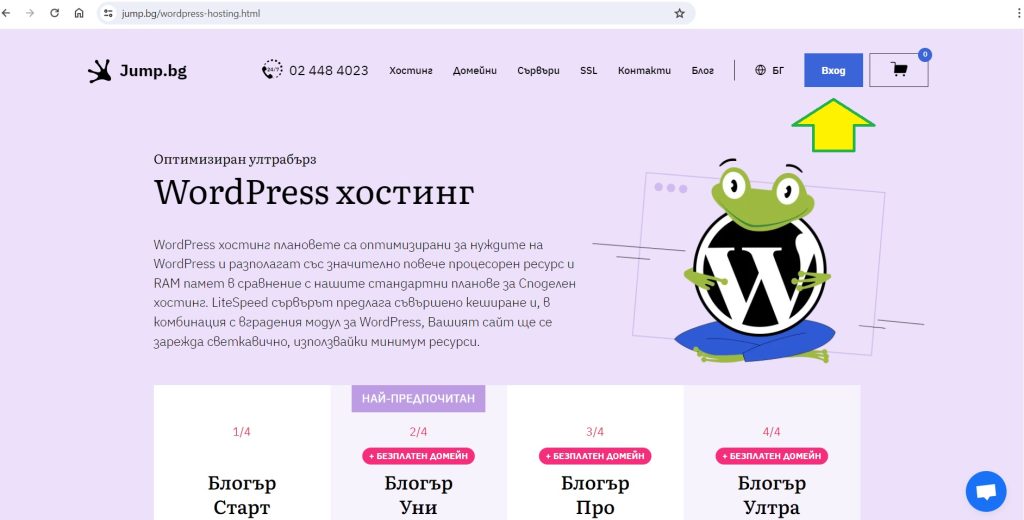
You need to open the website https://hostingjump.com, click on the blue "Login" button in the top right corner and log in to your account.
Then select on the right side of the menu "Services": "Services" - > "My Services", select the desired one (website hosting service) and on the right you will see the button for the cPanel login:
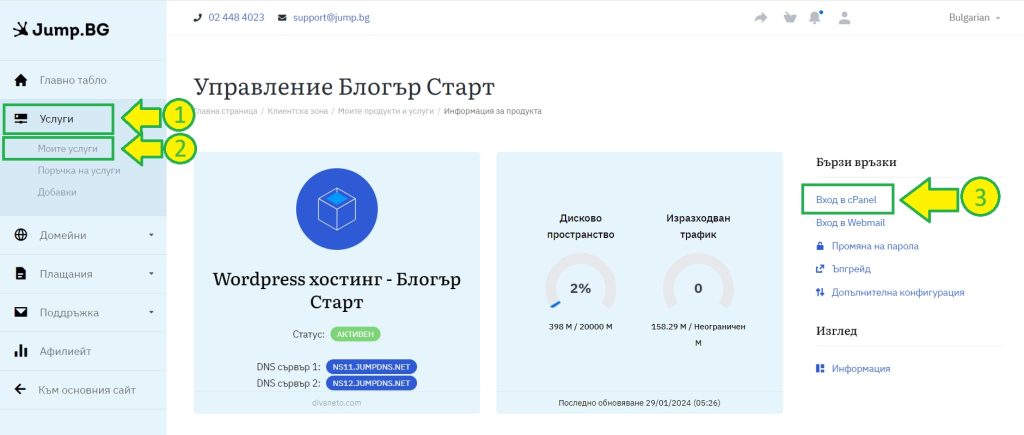
If you choose this method, you do not need to log in to cPanel as you will be logged in automatically.
Select “WordPress Manager by Softaculous”
Once you are in the control panel (cPanel) of your hosting account, scroll down to find the “WordPress Manager by Softaculous” button. You can see what this looks like in the screenshot below:

From this button, you can install WordPress by clicking the “Install” button. If the account already has WordPress installed, you can view it from here.
Configuring the installation
Once you have selected “WordPress Manager by Softaculous” and clicked the “Install” button, an interface will appear on your screen with fields for you to fill in.
1.Select a protocol
First of all, you need to choose a protocol. Our recommendation is to always choose "https" - for a secure connection.

If the domain or subdomain is new or does not yet point to our server, the message SSL not found may appear. This should not worry you, because the system will display such a message after a while.
2.Choose a domain (subdomain)
Select the domain or subdomain for which you want to install WordPress from the drop-down menu. To be able to see the domain or subdomain in question in the browser, you must of course have added/created it in the cPanel beforehand. Otherwise, they will not be available in this drop-down menu.
3. Enter a value for directory
If you want this installation to be loaded from “domain.com”, do not enter anything in the Directory field. If you want the WordPress installation to be loaded from a directory, enter its name in the field, e.g. “blog” and your website address is “domain.com/blog”.
4.Select a version of WordPress
We recommend that you always use the latest version of WordPress.
Next are the website options - in fields 5 to 9.
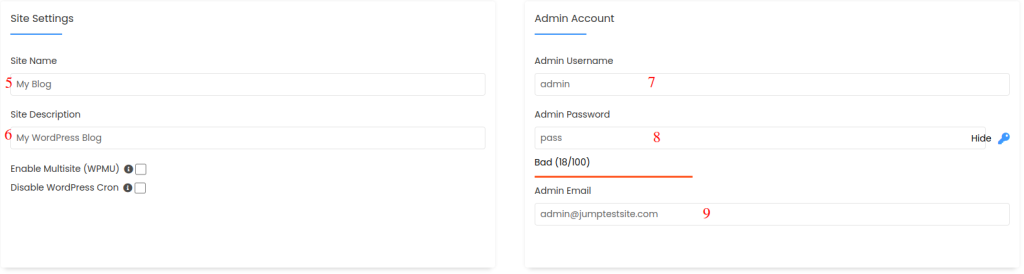
5.The name of the website
In field number 5 you should enter the name of the website. If you keep the default value (My blog), you can always enter a different name at a later date.
6.Short description of the website
In field number 6 you should enter a short description of the website. If you leave the default value (My WordPress Blog), you can always enter a different description later.
7.Administrator
In field number 7, enter the user name with which the website administrator will log in. We recommend that you do not leave it at “admin”, but enter a different name.
8.Password for the administrator
Choose a complex password and write it down. With your user name and password, which you entered in steps 7 and 8, you can log in to the administration area of the website after completing the installation.
9.Email address of the administrator
In field number 9, enter the email address with which the website administrator will log in. The login can be done with the user name from field 7 or the email address from field 9 and of course the password from field 8.
10.Select a language for the installation
And finally, you have the option to choose the language of the installation - by default in English or in Bulgarian, which you should select from the drop-down menu.
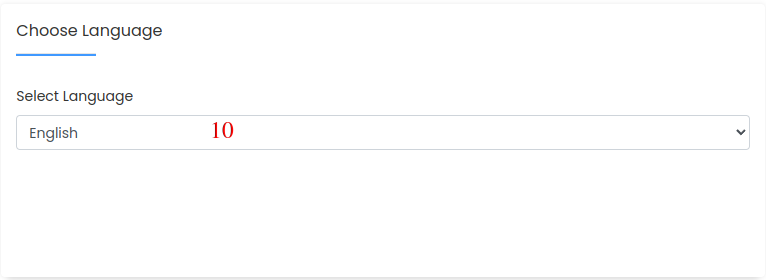
If you forget to choose a different language at this stage, you can always do it later. Instructions on how to do it can be found in our help article: How to use WordPress in Bulgarian?
You can skip the rest of the options and press the “Install” button. WordPress will install in a few seconds, after which a message will be displayed with all the necessary input data. You can log in to the site and start working on it. We wish you success!
In case you need to remove WP, here's how to safely uninstall WordPress from cPanel.
We hope we have been helpful! If you prefer to focus on your business or project, you can entrust the care of WordPress to our experts with the WordPress Support service. You can see more about her by clicking on the image below: