The security of our data and the various profiles we create on the internet is important. The digital age we live in poses risks to sensitive data that we often don't know how to protect or secure.
We recommend you use two-factor protection (Two-Factor Authentication - 2FA) when you log in to your customer profile, as well as when accessing the control panel for managing hosting services - cPanel.
In this article, we will show you in a few simple steps how to activate two-factor authentication to ensure the security of your customer profile.
Two-factor authentication protects access to your account. In this way, the possibilities of malicious access to your user profile are limited right from the first step.
What Do You Need For Two-Factor Authentication?
The process works via Google Authenticator, which generates a code to access your user panel. This way, in addition to the required username and password, you enter the generated code immediately before logging in.
Important: It is necessary to install the Google Authenticator or Duo app on your mobile device, which you also use to perform the additional verification for your control panel.
If you download Google Authenticator, you must validate your account immediately after downloading it via your Google account.
In addition to this validation, you will need to complete a few more steps, such as Specifying the operating system you are using - IOS or Android, confirming an authentication choice - scanning a barcode, or entering a manual key. You can do this via the "Add account" menu.
Note: If you already have a verification application installed, you do not need to install it. It is required that the email you registered with in your customer profile is validated in the verification application.
How To Activate Two-Factor Protection in Your Hosting Account?
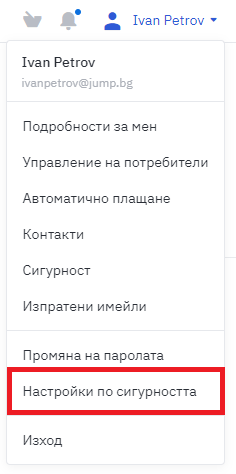
- After accessing your user panel with username and password, you will find the field - Security settings in the right drop-down menu
- After clicking on the button, you will be redirected to a page where you can activate two-factor authentication.
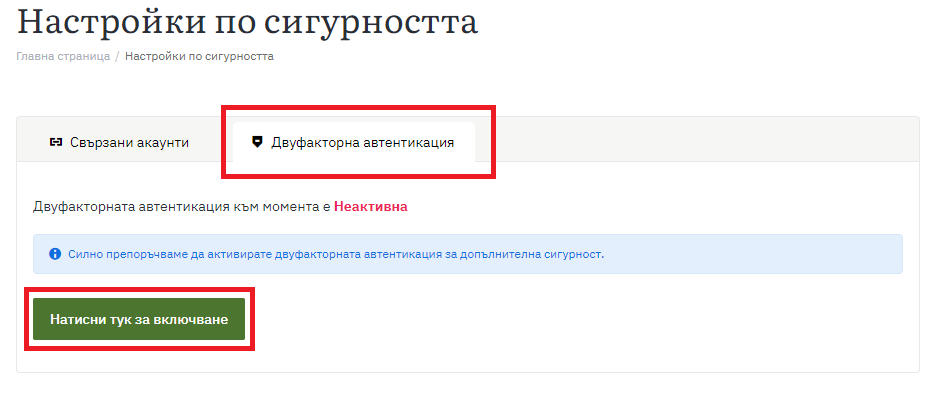
Tip: Activation takes no more than a few minutes and we strongly recommend that you activate the service to ensure unregulated access to your account.
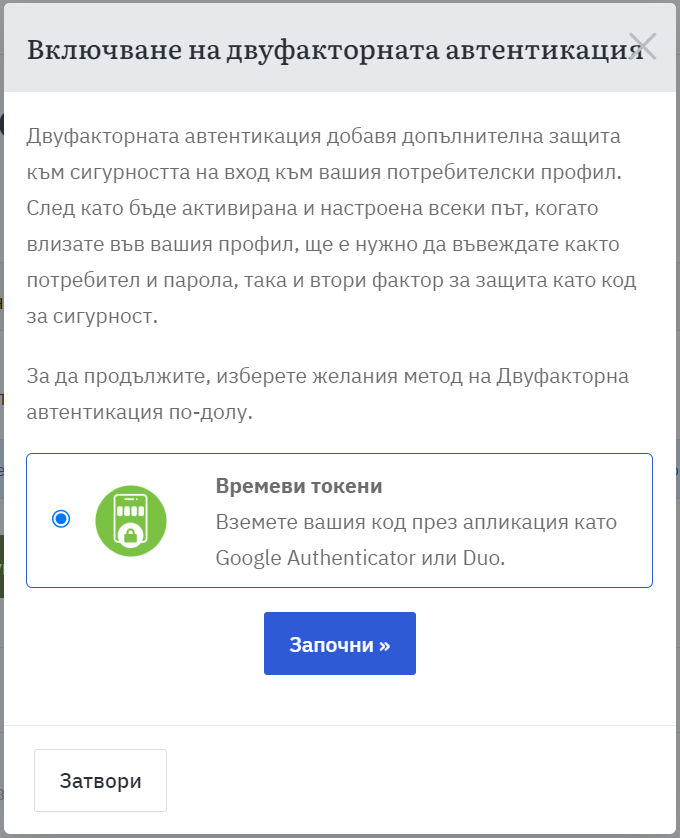
- Select the Time Tokens Option and Click on the Start Button.
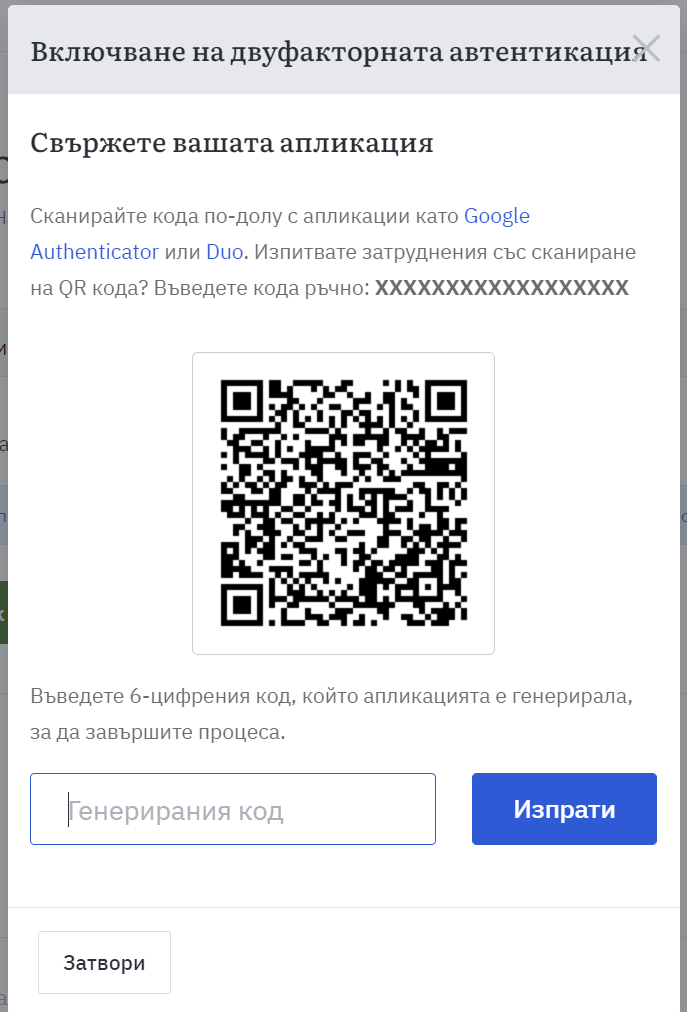
- Scan the QR code with the two-factor security app that you have already installed on your mobile device. If you are unable to scan the code, you can enter the sequence of numbers and letters manually in your application.
- Once you have set up the code on your mobile device when you log in to the app you have downloaded - Duo or Google Authenticator - a number/digit sequence is generated that you must enter to complete the process.
To log in to your account, you will receive a code generated by the app itself. If a problem occurs and you lose your device and cannot get a code, there is a backup key that you can use.
It is recommended to save all backup codes in advance. Keep them in a separate location/file or on paper in case you lose your device. Again, we recommend that you don't skip this step and keep the access key in one place because you don't know what could happen to your phone and whether your data could fall into the wrong hands.
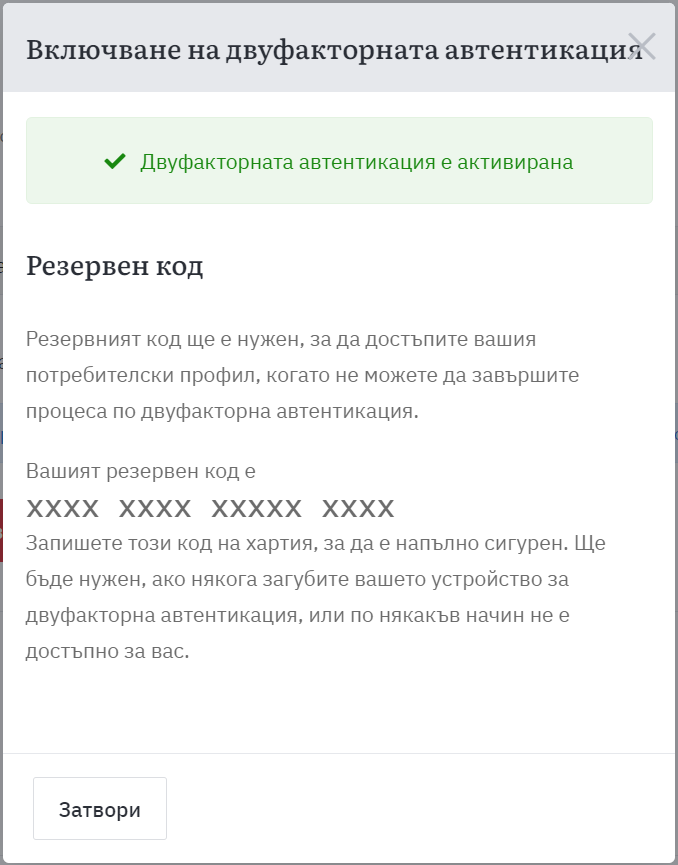
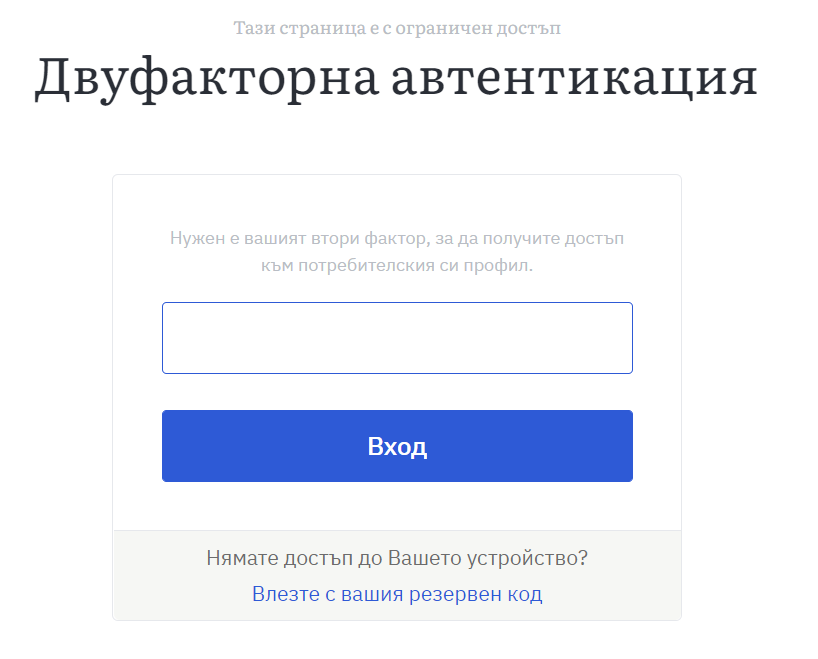
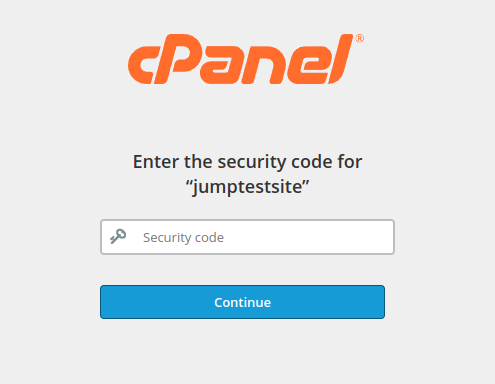
- Once you have activated (Two-Factor Authentication), you will always see this step when you access your customer profile:
You can disable two-factor authentication in the account at any time if you feel you do not need it, but we strongly recommend its implementation as a mandatory step for the security of your personal data on the Internet. The steps to stop it are identical by going to the Security Settings Menu and disabling it.
Activate Two-Factor Authentication in cPanel
In addition to securing your profile, you can also enable two-factor authentication when you log in to the control panel through which you manage your shared hosting services - cPanel. Enabling this feature is optional, but we strongly recommend it. This way you can be sure that a malicious user cannot access your profiles.
How To Activate Two-Factor Authentication?
When you log in to your cPanel account, go to the Security menu. From there, select - Two-factor Authentication. When you click the button, this field will appear:

The steps for authenticating the data in cPanel are the same as those for logging into the customer account at Hosting Jump. When you activate the function and access the profile, the following field is displayed:
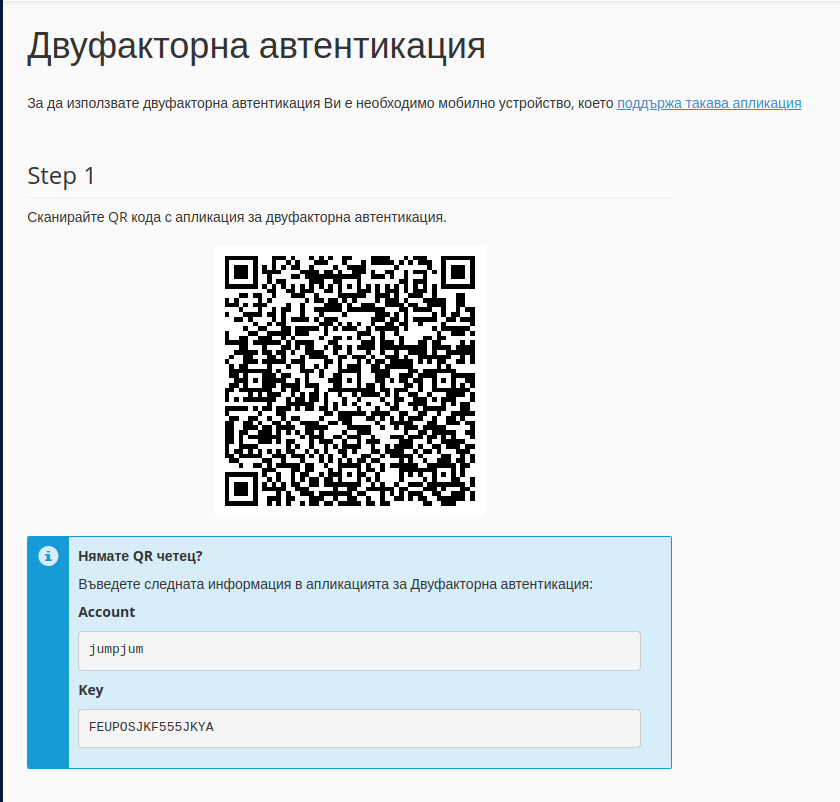
You must scan the QR code with Google Authenticator or Duo or enter a code manually if you do not have such a reader.
After you have scanned the code, you will be redirected to the second step of the process:
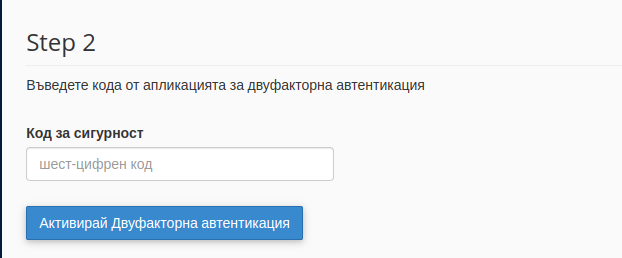
Enter the code that was generated for you by the app you selected for authentication. When you enter it, you have gone through the entire activation process. On each subsequent visit, the system will ask you for two security factors.
When the program exits, enter the code from the application that was generated.