The Domain Name System, or DNS as it is commonly known, is a complex system for converting a domain into an IP address. So instead of entering an IP address every time we want to visit a website, we enter the domain. The DNS system can also provide advanced settings and features for any user who owns a hosting or domain.
In short, this system can be used to direct web or email traffic to a remote server, create additional records, etc. The DNS system itself consists of several "subzones" that can be used to control an aspect of your website's traffic. The most commonly used "subzones" and the aspects they control are as follows:
A Record In The DNS Zone
The A record specifies where your website should point. Please note that this targeting is controlled by entering IP addresses. With an A record, you can only control the web traffic of your website.
With an A record, you can have individual subdomains or domains point to a specific location without affecting your website or mail if you do not want them to point to another location.
MX Record In The DNS Zone
MX records are created to control your email traffic yourself. For example, if you want to direct your emails to a different location but do not want to direct web traffic there as well, you can change the MX records.
CNAME Record In The DNS Zone
CNAME records are equivalent to another, already existing A record. You can use these records you create different names or hosts with the same IP address.
TXT Or SOA Record In The DNS Zone
TXT records can contain a variety of information such as additional SOAs, SPFs, PTRs, etc.
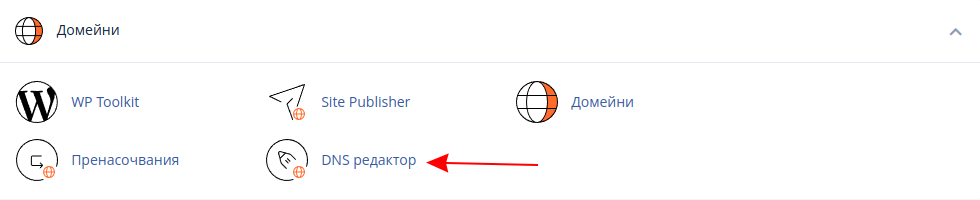
Any of our customers using shared hosting, WordPress hosting or eShop hosting can easily manage the above DNS settings via a handy cPanel interface. All settings are changed from your control panel - > DNS Editor (Zone Manager), as shown in the screenshot below:
All your domain names are displayed on the screen. To edit a specific name, select the "Manage" button
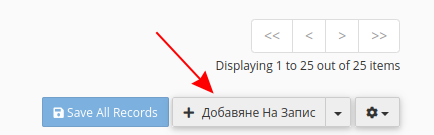
To add a new record, click on the "Add record" button:
The next step is to fill in the following fields, which are marked with the numbers 1 to 4 in the screenshot:

3 - Choose the type of recording you want to make. It is necessary to start with this, as different fields open for different types of recordings.
1 - Enter the domain name. If you are creating a subdomain (e.g. demo.jump.bg), enter it (demo).
If you are creating a TXT record for the main domain, enter it (in our example it is jump.bg).
2 - The value for TTL can remain unchanged.
4 - Enter a value in the input column. Depending on the type of record, this can be an IP address, a hostname or a text. Here is an example with entered data:

Now all you have to do is save the changes by clicking on the "Save record" button
Once you have added a record, it will appear in the "DNS Records" column. In this column, you can also see all entries that have already been added. If you want to change the values of a record that has already been added, select the corresponding record and click on the "Edit" button.
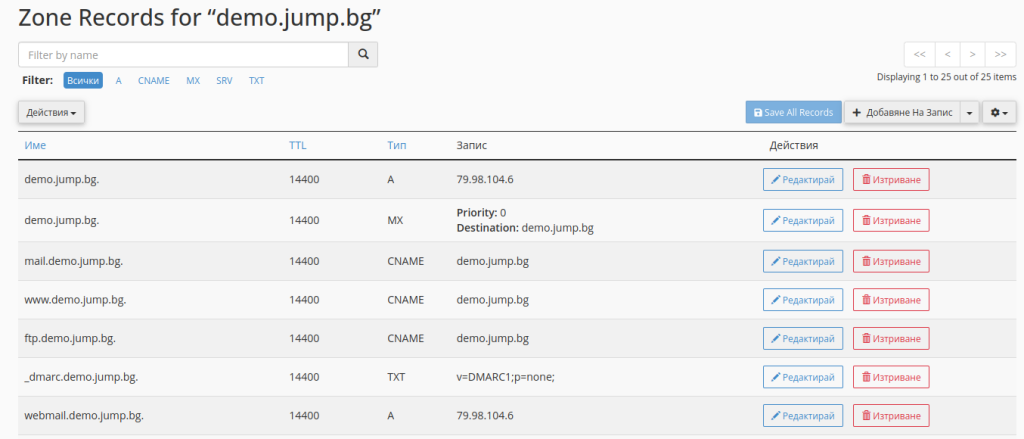
We give another example of how DNS records can be used in practice. For this purpose, we use the subdomain demo.jump.bg. To point this subdomain to another remote server with an example IP address 128.128.128.128, we select the A record with the name demo.jump.bg. and click on the "Edit" button.

In the "Record" field, we only enter the new IP address, which is sufficient to direct our website to the remote server. Please note, however, that every DNS setting takes time to take effect.
We hope that this article has provided you with useful information - what records can be created in the DNS zone and how to create and edit them in the hosting account control panel (cPanel).