Every modern website on the internet, whether a personal blog or a complex company website, has a special symbol that is visualized in the browser.
This site icon is called a favicon and complements your brand identity. It makes your website recognizable when the user has many tabs loaded in their browser, which is quite common.
In this article, we will show you three ways to add a favicon to your WordPress website. But first, let's see why you need one.
Why Add a Favicon in WordPress?
The favicon is part of your brand and site identity. That's why it must be well-designed and correspond to the main concept of your site. Such a small detail may seem insignificant, but adding а WordPress favicon makes your website look more professional. What's more, if a user has numerous tabs open in the browser, the site titles may not be visible, but the favicon image is always displayed at the front.
If you do not set up a custom favicon, your site will still have an icon. It will either be the WordPress logo (the default for every WordPress site) or an image that the theme developers have set (if you are using a pre-installed package of a theme and modules).
In these cases, apart from not showing your brand in the browser tab, it is also more difficult for users to navigate. Many of them might think you are not a reputable company. Therefore, we strongly recommend that you use your logo or part of it as a favicon.
How to Add a Favicon Through the WordPress Customizer
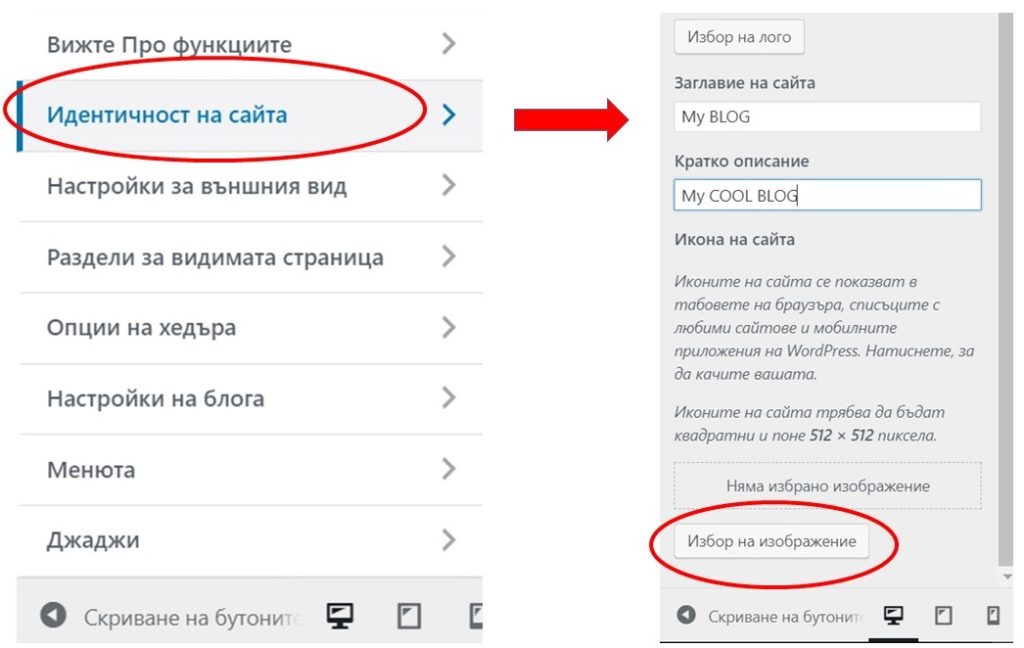
This way of uploading a favicon is relatively quick and easy. The four most common sizes are automatically generated when you add an icon to your website via the WordPress settings. The uploaded image must be at least 512 x 512 pixels. WordPress automatically creates the other sizes from this original file.
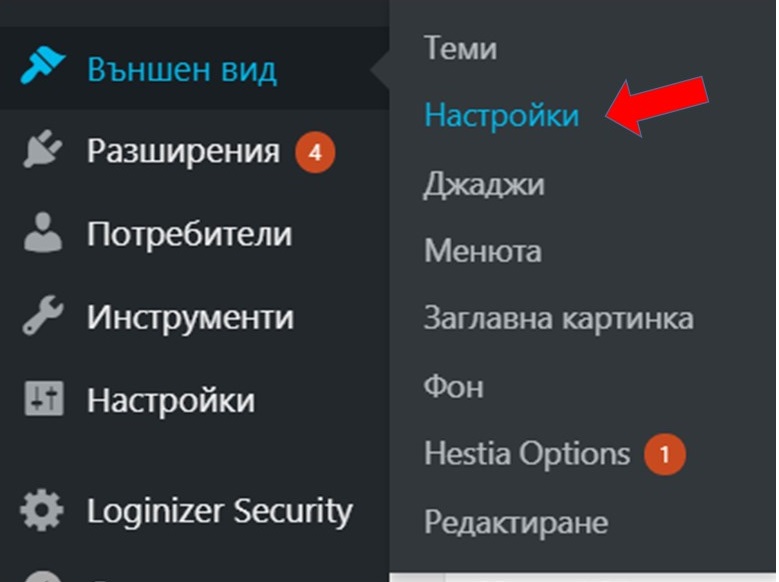
Step 1: In the administration console, select “Appearance” and then “Customize”
Step 2: In the Customizer, select “Site Identity" and then “Select site icon”
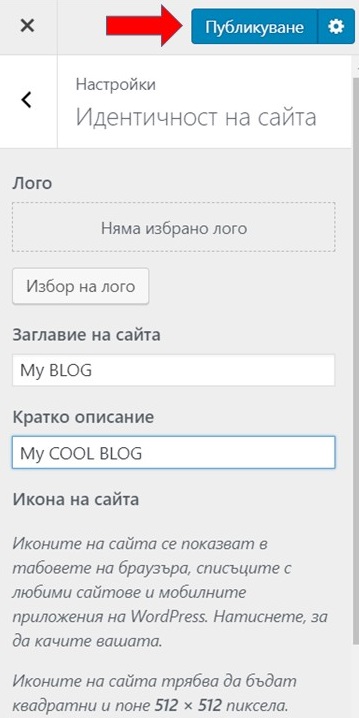
Step 3: Once you have selected and uploaded the image, all you have to do is Publish
Your homepage looks off? Learn how to properly set up a WordPress homepage.
Adding a WordPress Favicon Through a Plugin
Choose and install one of the many free and paid WordPress plugins to add your favicon. For that, you need to go to your WordPress dashboard, find the "Plugins" menu on the left, and choose "Add New Plugin". Look for the favicon plugin in the "Search plugins" field.
Below, we've selected two WordPress plugins that can help you create a favicon file or upload one you already have.
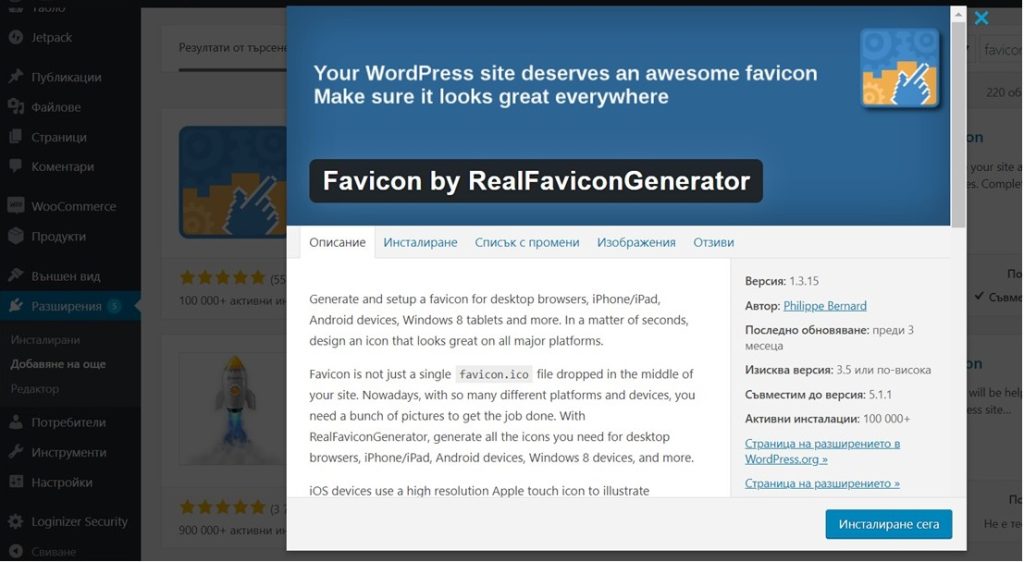
Favicon by RealFaviconGenerator
RealFaviconGenerator is a favicon generator that creates super-fast designs, compatible with all major platforms.
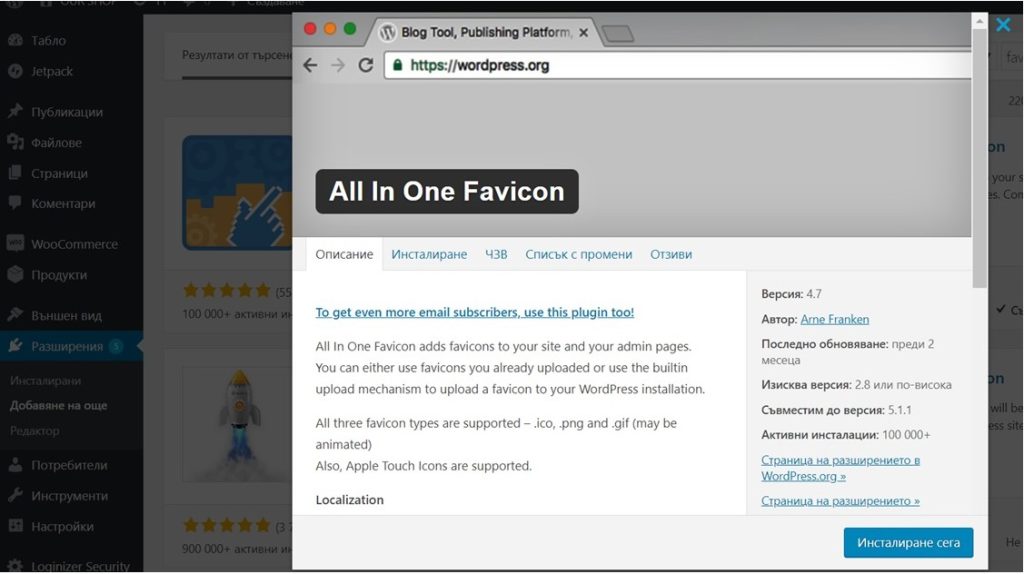
All In One Favicon
This WordPress plugin adds a favicon to your website as well as to your administration pages.
Add WordPress Favicons Through the Theme Options
Some WordPress themes include an option to upload a favicon via the settings of the theme itself. Note that with this option, it is possible to use the same image for multiple copies on the website.
Adding a favicon to your WordPress site will make your website stand out in a myriad of open browser tabs.
So why wait? Follow this tutorial and add the favicon today!