The number of people who want to open their own online business is constantly increasing. Perhaps the main reason for this is that at first glance, online trading appears to be quick and easy and requires little investment. Is this really the case?
It is important to define the product or service, customer needs, pricing, business plan, logistics, communication, customer service, etc. You can do all this step by step.
WordPress makes publishing on the Internet easy and accessible to everyone. And the WooCommerce plugin is an excellent option for turning your WordPress website into a fully functional online shop. In today's material, we will show you how to create an online shop with WordPress and WooCommerce in just a few steps.
Step 1 - Domain and Hosting
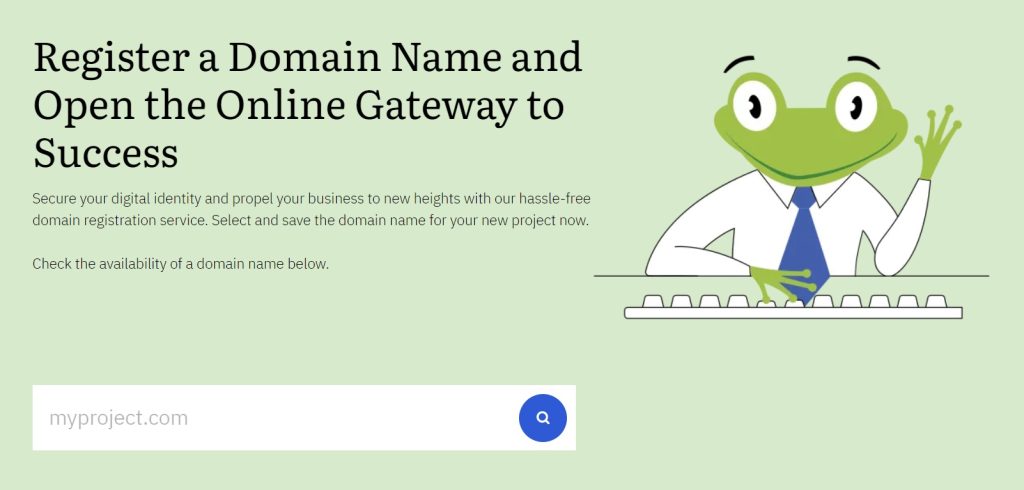
The domain name is the face of your project. And that is why it is very important. It shows off the brand of your business. We recommend you choose it precisely, considering the content of the website, target audience, etc. of your project.
You can search for the best domain name and register it easily here (click on the image):
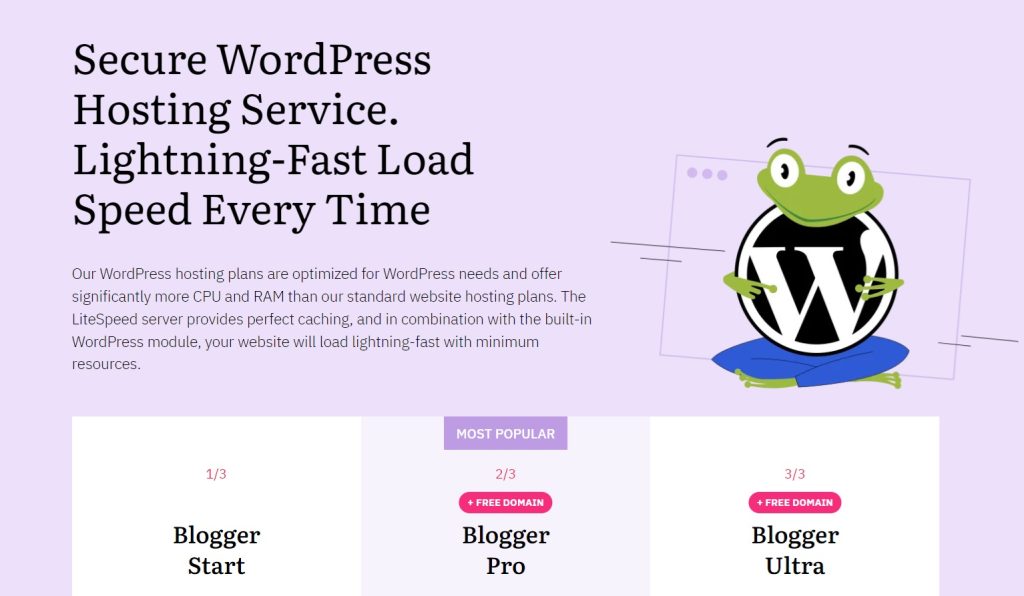
Once you have chosen and registered the best domain name for your project, you need the best hosting solution for it. We recommend that you choose a hosting plan that is optimized for WordPress. This means that it has the necessary resources because the most popular CMS platform WordPress needs more resources than a static website to run smoothly and without problems.
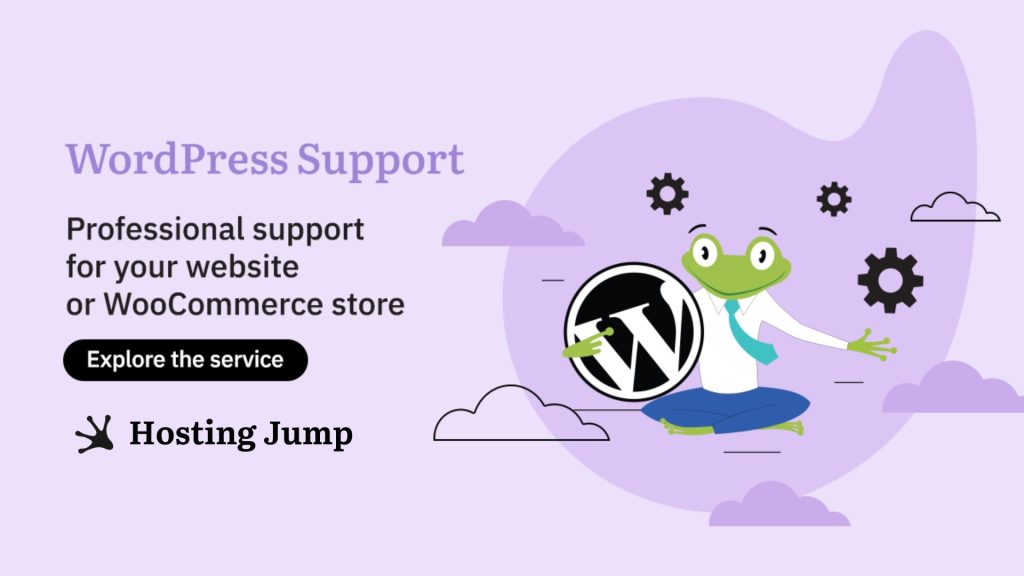
If you are experiencing difficulties with WordPress and prefer to focus on the business side of your project, take a look at our service - WordPress Support. Our team of experts with extensive experience will take care of the optimal functioning of your website.
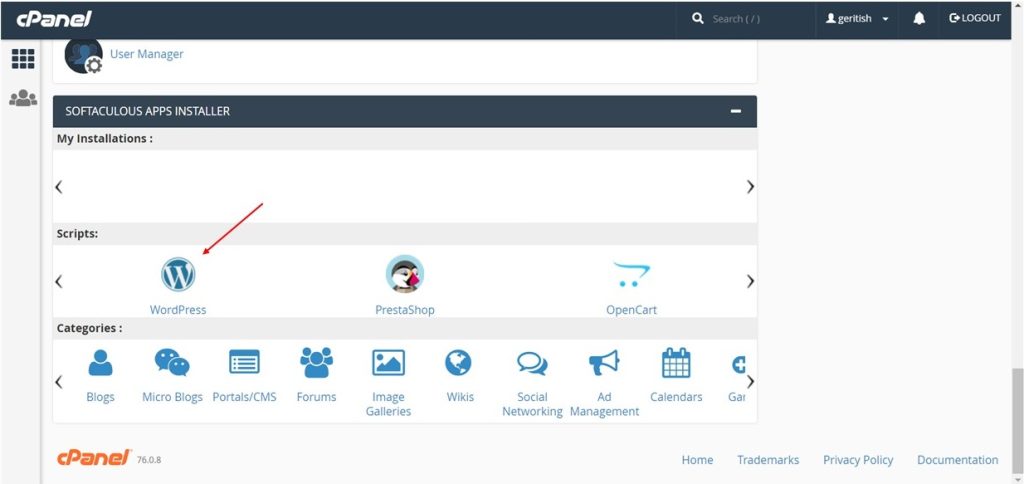
Step 2 - Install WordPress
WordPress is extremely easy to install. Log in to cPanel (your control panel), scroll to find the Softaculous App Installer, and then WordPress.
Step 3 - Install and Configure the WooCommerce Plugin
Installing the plugin itself is extremely simple. The action itself is carried out via the WordPress administration panel.
Go to WordPress Dashboard Plugins - Add New.
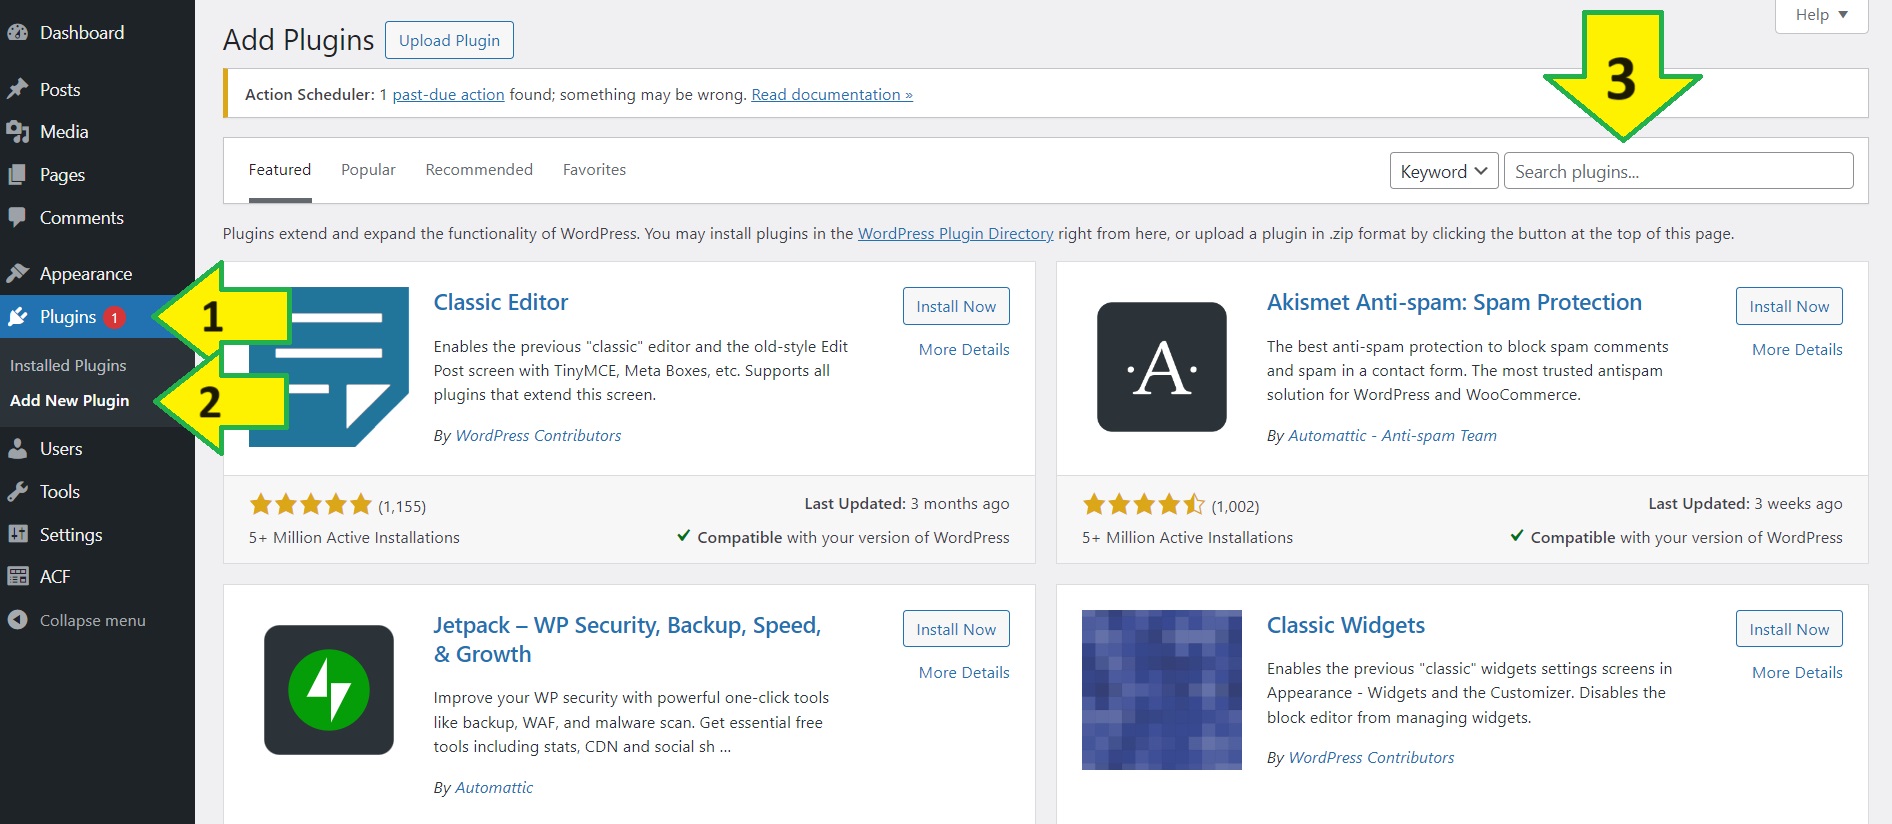
Enter "woocommerce" in the search field. Many results will be displayed, i.e. all that contain the search term entered. Select the first result - WooCommerce - and install it.

Congratulations, you have WooCommerce installed. You will see that the button "Install" is transferred into "Activate" - click on it to activate the plugin.
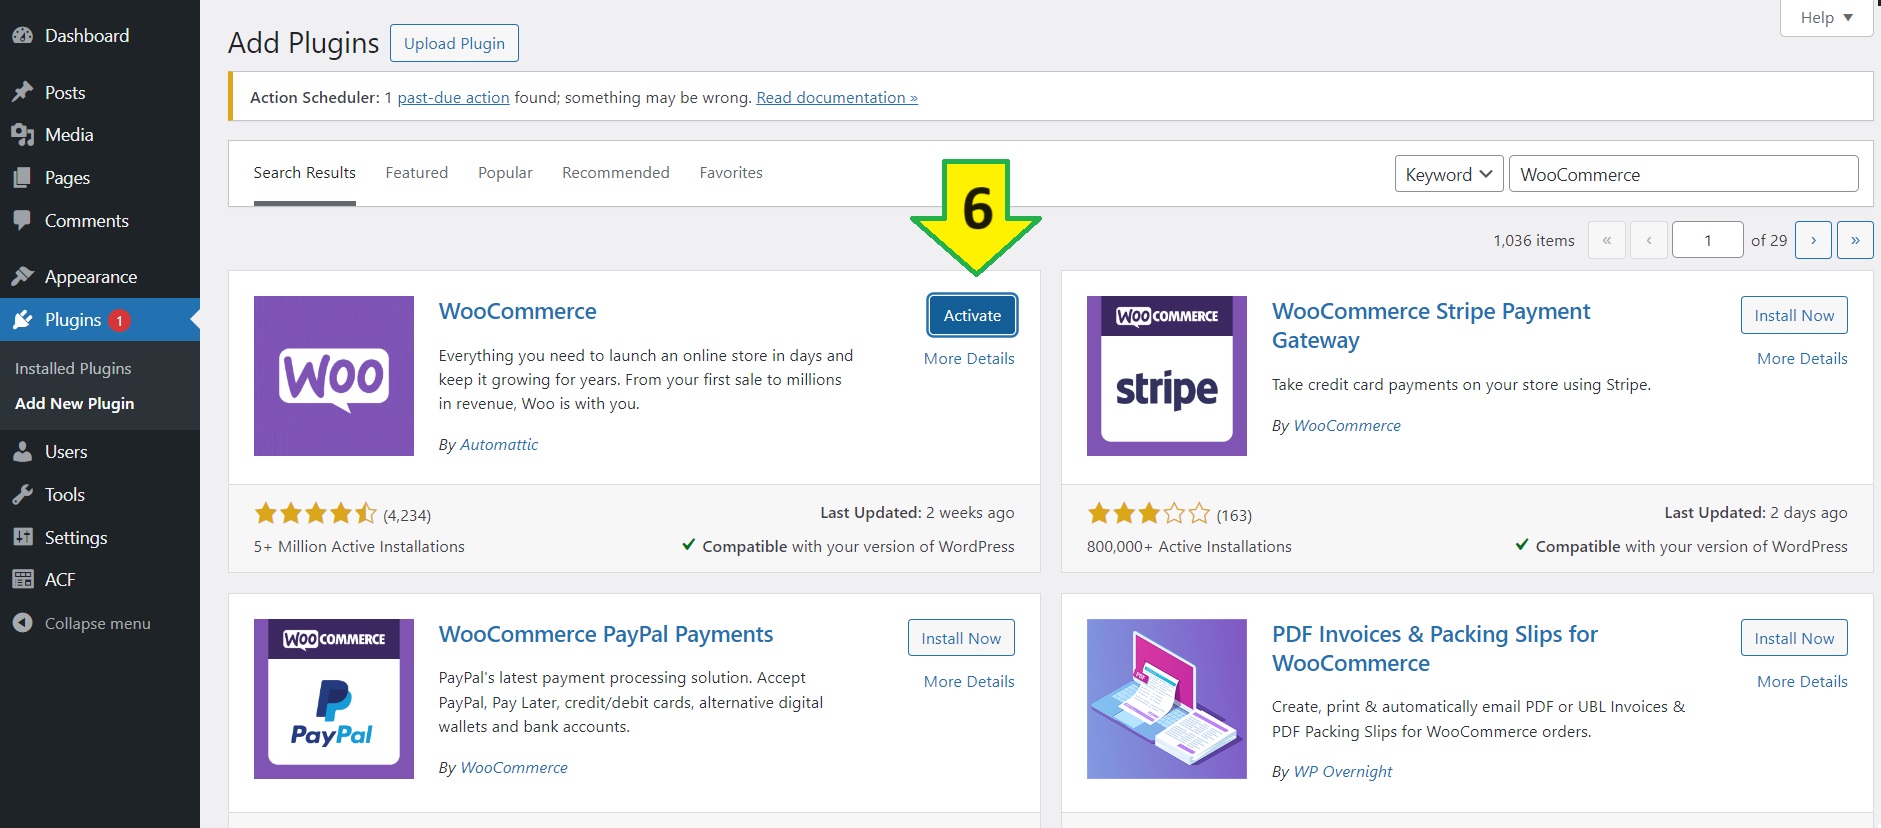
If you click on the "More information" button, you can read a detailed description of when the last changes were made to the plugin, what feedback there is from users, etc.
Once you have installed the WooCommerce plugin, a window will appear in which you can easily and intuitively fill in the information about your online store.
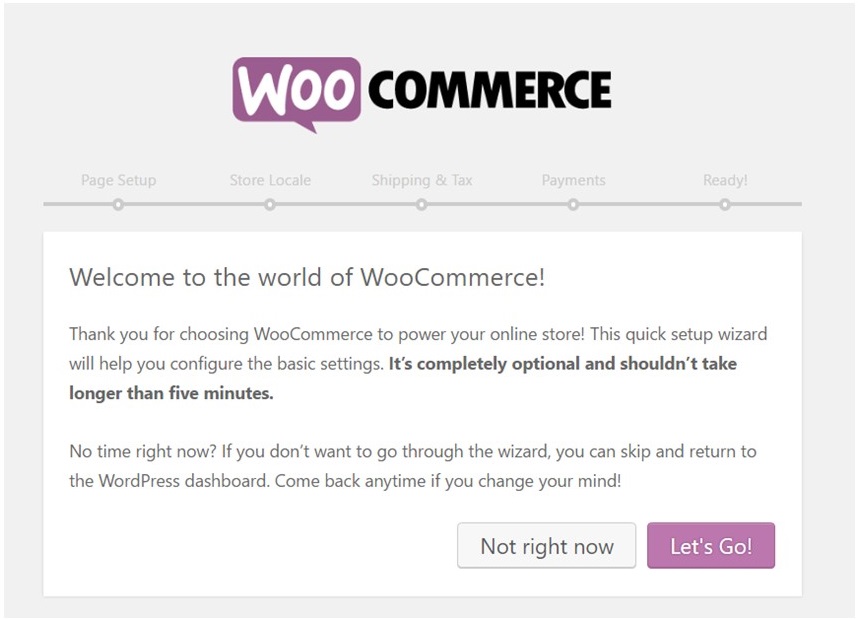
For the Online Store to work properly, you must complete it:
- the address of your store
- the currency in which you want to accept payments
- product type
- select the payment method (we recommend the most popular method PayPal)
- the shipping details
Filling in these fields is strictly individual and depends on the business goals you have set yourself, the parameters of your target group, etc.
So far you are done with the basic settings, you now have an empty online store. We recommend the following sequence of the remaining steps, which is of course optional.
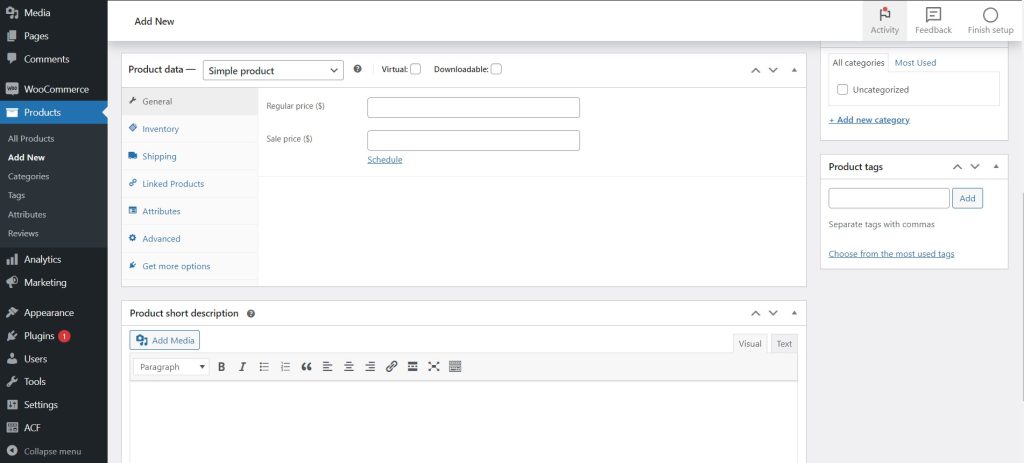
Step 4 - Add Products
Add your first, say, ten products. If you add more products, it's easier to visualize the entire online store. If you don't have that many products yet, you can of course also enter the products you already have.
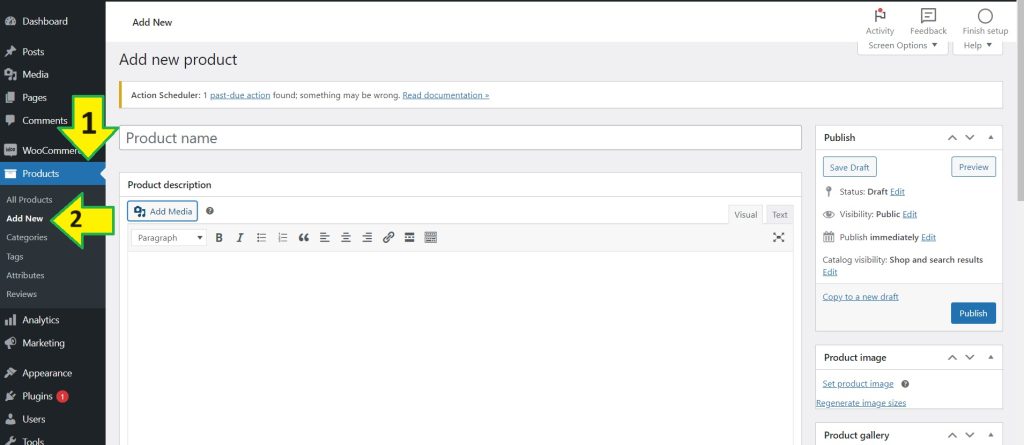
- add a description for the product
- product category (if you have planned different product categories)
- select an image
- product type and dates
- price, stock, and delivery
After you have installed and configured WooCommerce, filled in the basic fields for the proper operation of your online store and added the products with the required descriptions, select a theme.
Step 5 - Choose a Theme for Your Online Store
In the beginning, you should think carefully about which functions (functions, design, visual design, etc.) are necessary for the smooth operation of your online store.

Step 6 - Install Plugins
Plugins are programs with different functionality and scope that complement your WordPress site in various ways. These extensions are not included in the basic version of WooCommerce, so you have to install them yourself. Plugins are completely separate from the platform, so you can add, activate, and deactivate them at any time.
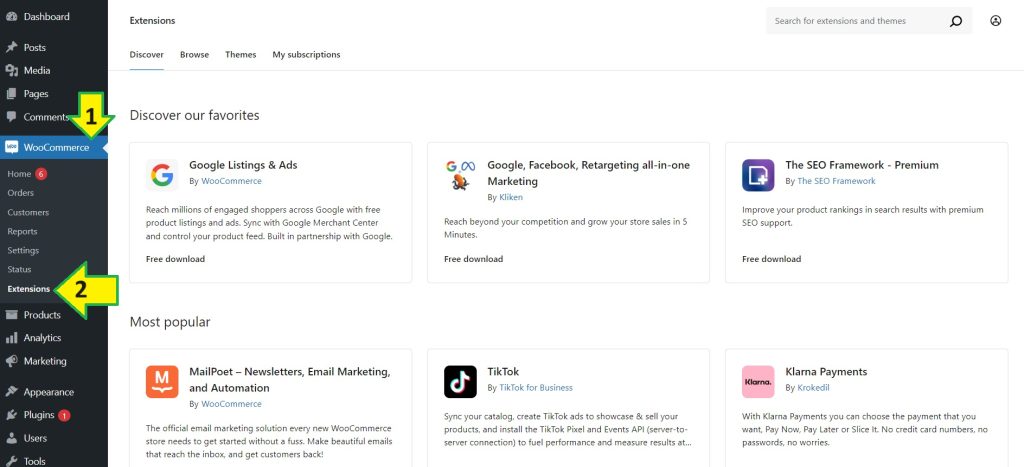
There are a number of plugins available, and many of them overlap in functionality, making it difficult to choose the most suitable for your online store's purposes.
We hope this blog post is helpful for you to set up an online store using WooCommerce for WordPress!
Are you considering launching an online store? Dive into our article on PrestaShop vs WooCommerce to make an informed choice that sets you up for success.